Build a Business Blog – Creating a SiteMap
When you begin a blog most people do not realize that you have to tell search engines that you exist and what content is on the page. Sure, if you wait it out and never do it, in a few months you may show up in google, but who wants to wait a few months! This is why you need what is called a “Sitemap”.
This post may contain affiliate links which means we receive a small commission at no cost to you when you make a purchase. As an Amazon Associate, I earn from qualifying purchases.
A Site map tells spiders (the name for a search engine crawler) that you exist and directs it to weave through your content and input it back into Google. If you are on WordPress, adding a sitemap is super easy.
Adding a Sitemap for WordPress Users
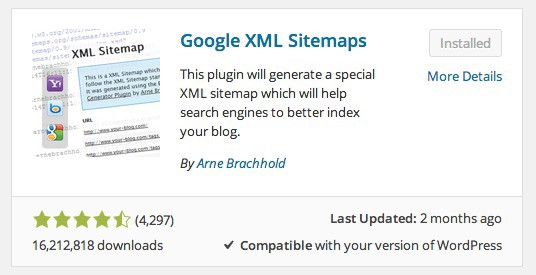
One of the most widely used plugins for a sitemap is Google XML Sitemaps.
To add a plugin to your site, you can follow these simple steps.
1) Sign into your WordPress dashboard and go to PLUGINS. Then on the top hit ADD NEW and then search for the Google XML Sitemap.
2) Hit Install Now and then Activate.
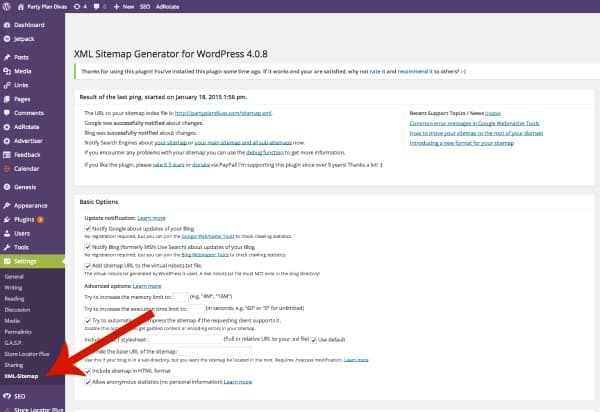
3) Once the install is done, you can check your settings. This plugin is located in SETTINGS > XML Sitemap. The first time you use it you will need to go to the top and generate a sitemap.
In my photo below, because mine is already done it shows the last built, but on a new install, it will prompt you to create one. It’s a one step button push.
Once that is done, you can adjust any other settings you need.
Tips: I do not use priority calculation by comments, I use automatic detection, I have posts, homepage, and static pages checked.
Once you have a sitemap together you will need to tell the search engines where it is so in the future it always knows what to crawl (and you don’t HAVE to do it, the spiders will find your sitemap eventually, but we want you to know how to do it and encourage you to take that step)….that is your next lesson – Setting Up Google Analytics.