Build a Business Blog – Setting Up An RSS
Another benefit of having a blog is the ability for your customers to subscribe to your blog and receive your blog posts directly to their email inbox via an automated RSS feed.
You may have seen the training about a Customer eNewsletter using MailerLite, but they also offer the ability to set up automatic mailings directly from your blog!
Here is how to set up your RSS in MailerLite step-by-step.
This post may contain affiliate links which means we receive a small commission at no cost to you when you make a purchase. As an Amazon Associate, I earn from qualifying purchases.
What is RSS?
RSS stands for Rich Site Summary which is “a format for delivering regularly changing web content.” RSS can be used in a variety of different ways – but the most common is the ability to pull your RSS “feed” into a newsletter to be sent out automatically to your subscribers.
Software like MailerLite can import your RSS feed to send out beautiful HTML emails of your new content as often as you would like – giving you one more opportunity to reach your customers on a consistent basis.
Why MailerLite?
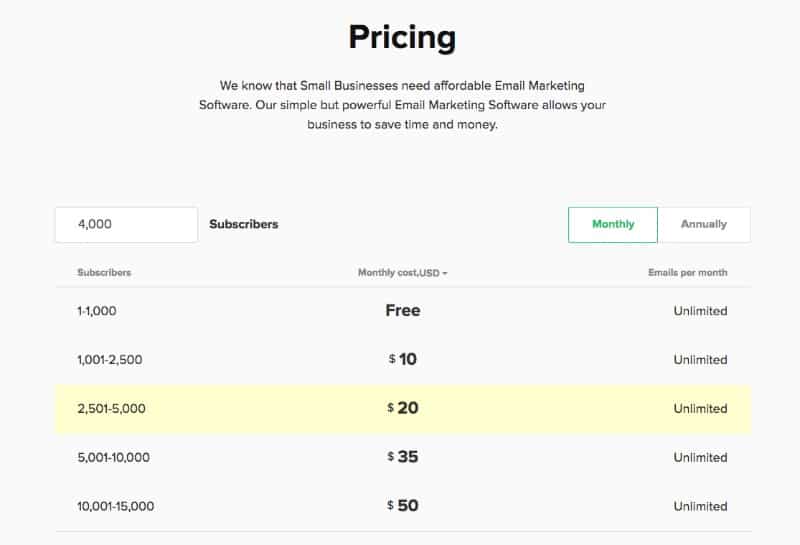
I have used numerous Newsletter and RSS software over the years, and MailerLite is my current favorite for a multitude of reasons. For starters their “forever free” plan lets you send unlimited emails when your list is under 1,000 subscribers.
Then 1,001 subscribers start at just $10 a month. Even with the free plan you still have access to all of MailerLite’s tools, including email campaigns, opt-in forms, landing pages, a/b testing and more.
How to Set Up an RSS Newsletter with MailerLite
If you haven’t already, go sign up for MailerLite and verify your account. Once you are set up, click on Campaigns and then Create New Campaign.
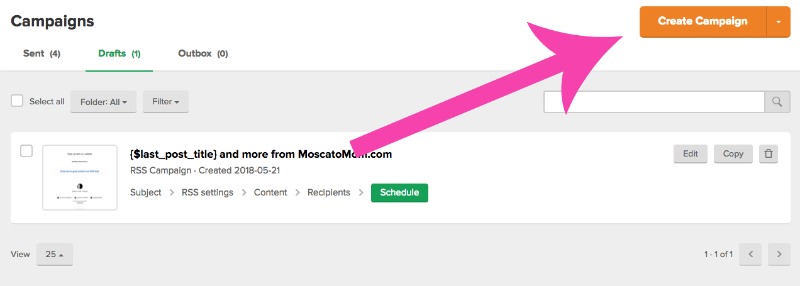
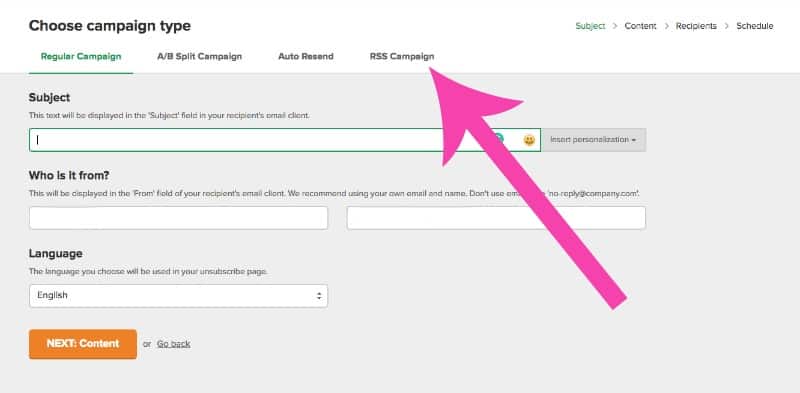
Next click on RSS Campaign on the top right.
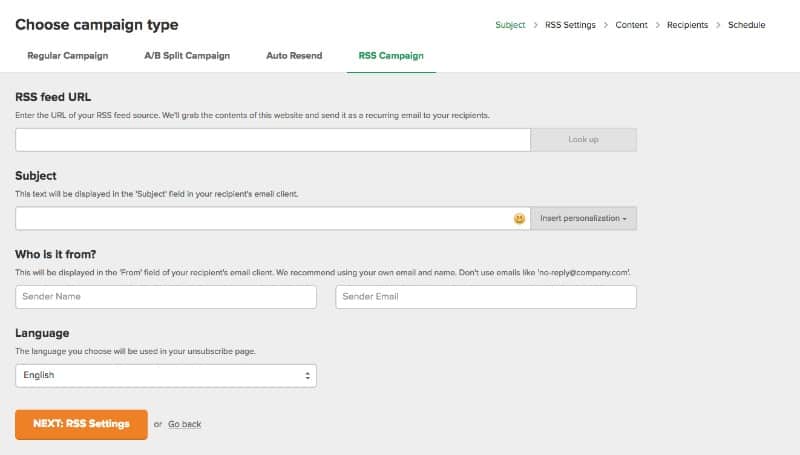
Fill in all required fields. Your RSS feed URL is generally yourdomain.com/feed
Also, make sure your Subject is something catchy that encourages your customers to open the email. You can even include emojis! If you want to display your post titles (recommended) put {$last_post_title} in this line to pull in your titles to the subject.
Note that the “send from” email should be from a registered domain to better the chances of your email not going to spam. (example: lynsey@partyplandivas.com is better than partyplandivas@gmail.com) If you purchased your hosting from our instructions, you get free email with your hosting account.
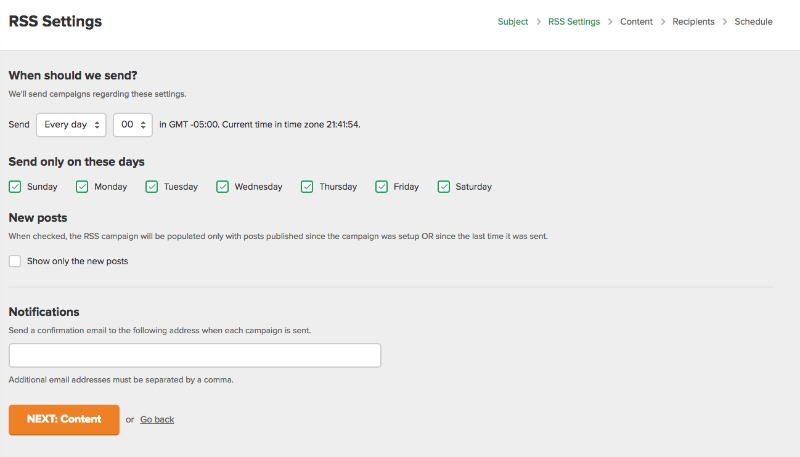
Next, choose how often you want emails to go out. This is totally up to you and should be based on your content.
How often do you plan to blog? If you are going to be blogging new content daily that is timely to your readers, you may want to send daily. However, if you plan to post 2-3 times a week, one weekly email may be best.
The benefit of a weekly email is that your customers will come to know and expect to receive your email on that day each week.
Also, make sure to check the box next to “Show only the new posts” so that subscribers do not receive the same posts more than once.
The next step is to design the email that will go out. You want to keep your email simple and easy to read on both desktop and mobile, as many people use their smartphones to check their emails.
You can use their drag & drop editor or choose from a predesigned template. Both allow for you to change colors, upload images, add links, and more.

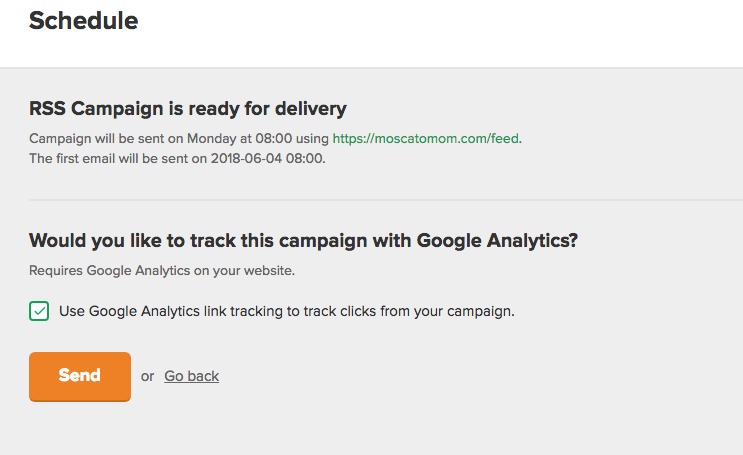
The last step is to choose your recipients and schedule your campaign. Then MailerLite will pull in your RSS feed every day or every week – based on what you have set – and automatically send to your list even as it grows!
You can even choose to have Google Analytics track your links so you can get a full report to see who has opened your emails, where they click and more!
HOMEWORK
Set up your RSS Feed on your blog and then encourage your social media followers to subscribe!